1. Add your product photo
Start with the photo you already have — a phone shot is fine.
AI PRODUCT PHOTOS & VIDEOS
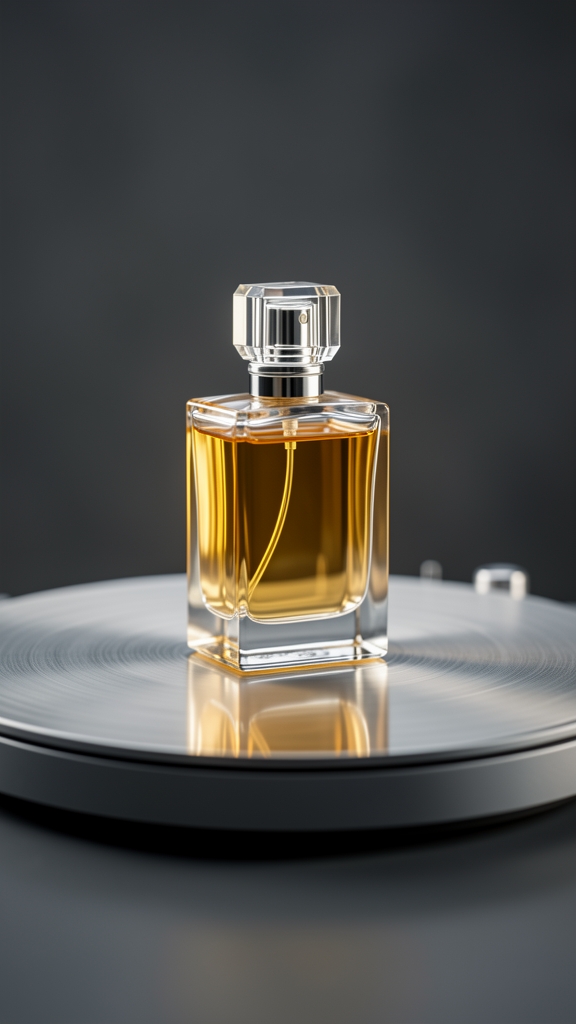
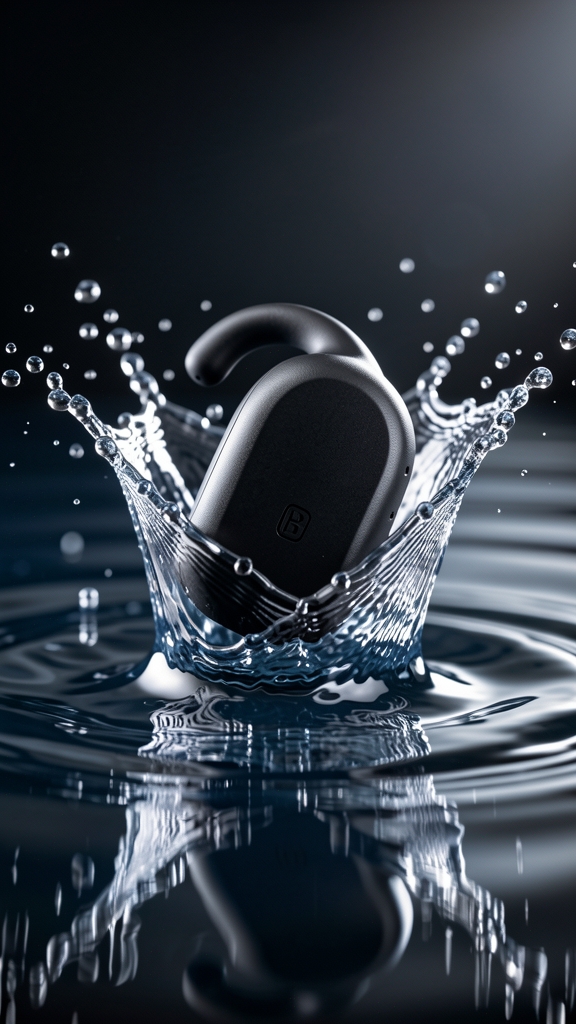
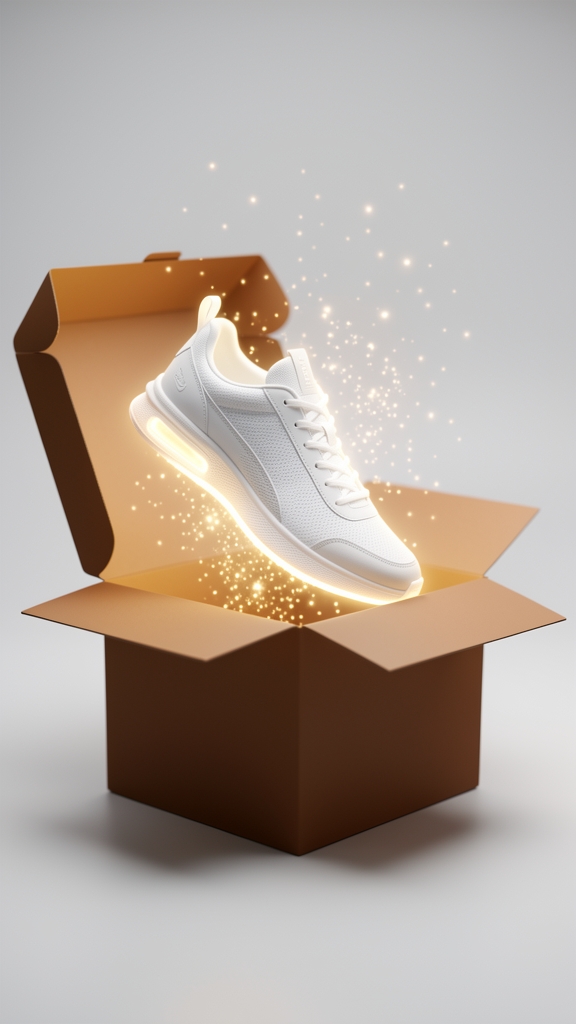
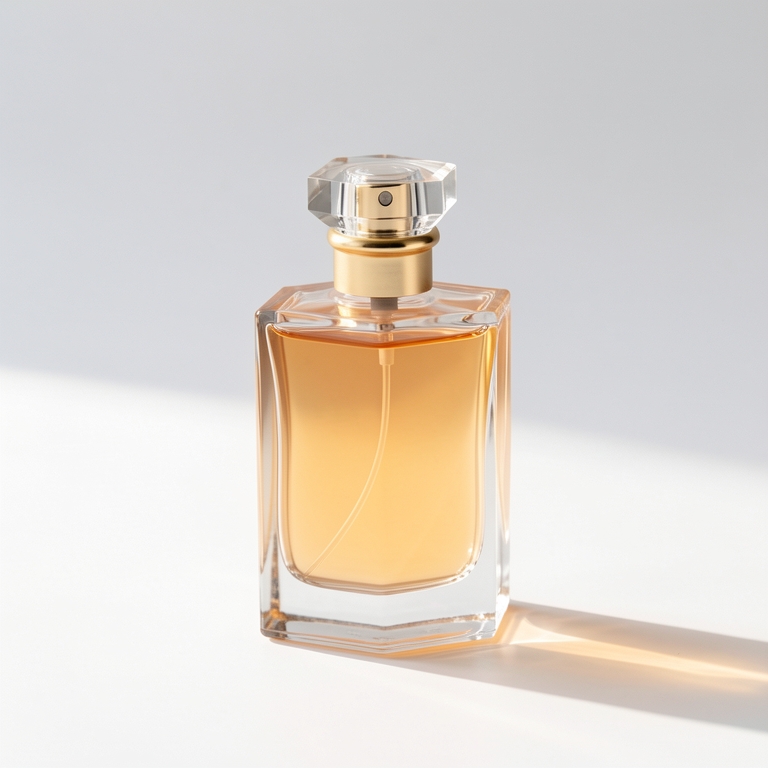
Add one product photo and pick a template: a clean studio shot that's ready to sell, or a short video — a 360° spin, a slow-motion splash ad or an unboxing reveal.
No editing skills or prompts needed. Your first video is free.
Start with the photo you already have — a phone shot is fine.
Clean product shot, 360° spin, splash ad or unboxing reveal.
Use it in your store, in an ad or on social.
Store listings.
A clean studio background makes a catalog look consistent without a photo shoot.
Social posts.
A short product video stops the scroll better than a still.
Ads.
Test a spin or a splash version against the still you run today.
Small shops.
Get studio-style results from a phone photo, without editing software.
The product doesn't need studio lighting, but its edges, label and true color should be easy to see. The AI works from what is in the photo; it can't recover details that are blurry or cut off.
If you can, shoot on a plain surface, fill most of the frame with the product, and avoid strong color casts.
Use the Clean product shot template when you need a picture for a listing or a catalog. Use a video template — 360° spin, splash ad or unboxing reveal — when you want movement for social posts and ads.
Both start from the same photo, so you can make one of each and see which works better.
Templates are made to keep your product as it is and change the scene around it. Clear, sharp photos keep the product most faithful.
A phone photo is fine. Make sure the edges and true color of the product are visible.
Yes. You own what you create with Vogla, as described in our Terms. Just make sure the product photo you upload is yours to use.